
market@chinacoalintl.com
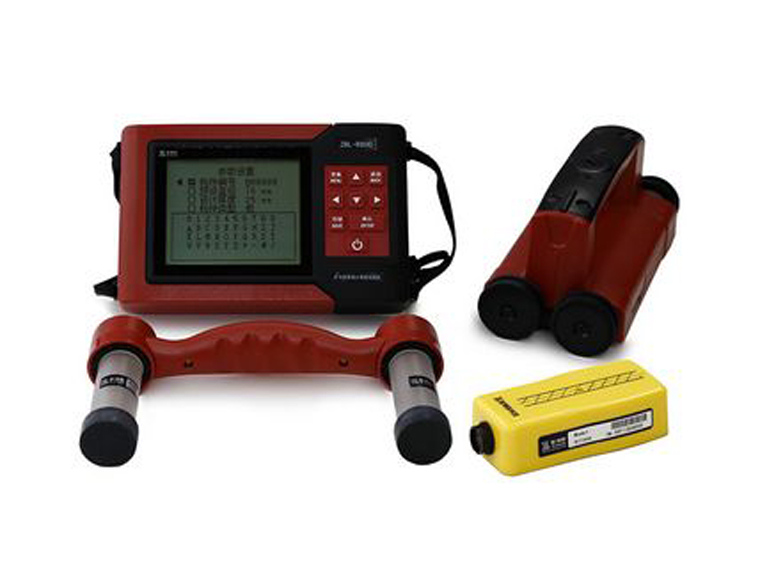
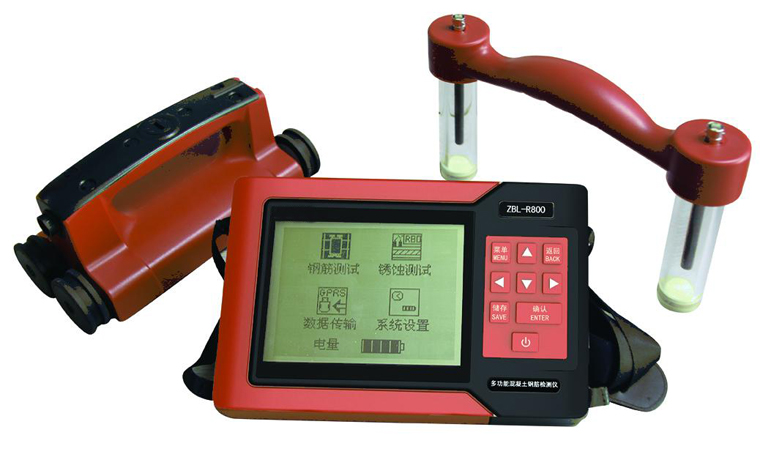
In order to ensure the thickness detection accuracy of the concrete protective layer, the tester should be proficient in the performance of the instrument and the influence degree of various factors on the thickness of the concrete protective layer. The evading factors that can be avoided are not evaded. Make a record and perform a simulation test to correct it. According to the long-term testing practice, the rebar detector for applying the eddy current effect can be operated according to the following operational points before and during the test:
(1) Determine the quantity and location of the test in accordance with the procedures specified in the specification.
(2) Read the construction drawing, grasp the section size of the inspection position structure, the direction of the force, the diameter of the steel bar, the quantity, and the thickness of the designed protective layer.
(3) Investigate whether there are conductive metals such as water pipes, wires, and metal wire bushings at the inspection location. Avoid them when selecting test sections.
(4) Check the flatness of the test surface. When the unevenness exceeds 0.5 mm, it should be smoothed.

(5) Select a probe of the right size. Use a small probe when the thickness of the protective layer is less than 60 mm. Large probes are used when the thickness of the protective layer is greater than 60 mm.
(6) According to the construction icon, the bar size setting parameter is set, and the rough position is detected in the detection position area, and the approximate position of the steel mesh is drawn. The detection line is drawn at the point where the distribution rib spacing is relatively large and the distribution rib has the least influence, and is measured along the line.
(7) When measuring the thickness of the protective layer of the main rib at the bottom of the beam, the influence of the dense steel bar on the detection accuracy is highly emphasized. When the number of steel bars is determined to be inconsistent with the construction drawing or the position of the steel bar cannot be determined, in addition to the readings recorded on the bottom and the two sides of the instrument, the thickness of the bottom protective layer shall be calculated by the two side reinforcing bar positioning measurements, and the side protection shall be calculated by the bottom bar reinforcement positioning measurement. The thickness of the layer and the center of the bottom surface of the probe are aligned with the bottom corner of the beam. The measured values are verified by measuring the distance from the bottom corner of the beam to the surface of the steel bar and the angle between the bottom of the beam and the minimum value of the rebar detector. When measuring the distance from the bottom corner of the beam to the surface of the steel bar, the instrument indication is subject to the least interference.
(8) Prepare a 10 mm thick plastic backing plate. When the thickness of the protective layer is less than the minimum value that can be displayed by the rebar detector, the pad is tested and the value obtained is subtracted from the thickness of the pad.
(9) When the negative deviation of the thickness of the protective layer exceeds the standard, the structural durability may be seriously reduced or the positive deviation of the thickness of the protective layer may cause the structural bearing capacity to be seriously reduced and the test result may be suspected. The micro-damage inspection shall be carried out.
(10) The rebar detector should be calibrated on the standard block before and after use.

© Shandong China Coal Group. © 2017
Address: No. 11, North of Kaiyuan Road, High-tech Zone, Jining City, Shandong Province, China
sales@chinacoalintl.com
Executive Editor: Zhang Wen / Editor: Linda Zhang