
market@chinacoalintl.com
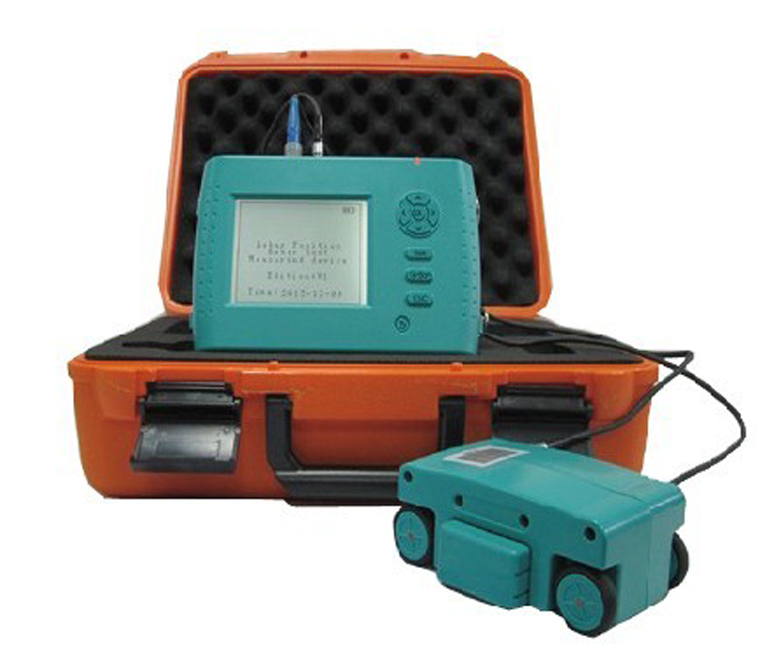
Many customer may ask:can a metal detector find rebar in concrete?Befrre they want to buy the metal detector!The question is ,of course!!Today I sorted out the specific steps of the rebar detector to detect the distribution of steel bars in concrete, for the reference of our customers! !
1. Scope of investigation on the distribution of concrete structure steel bars
The scope of investigation of the distribution of concrete structure steel bars shall be the main force-bearing parts of the main load-bearing members or load-bearing members, or the results of the steel corrosion potential test results indicating that the steel bars may be rust-activated, and the locations determined according to the structure and other testing needs.
2. Measurement area layout principle
(1) When testing according to a single component, the measuring zone shall be evenly arranged on the component according to the size, and the number of measuring zones on each component shall not be less than three.
(2) For a single component with a size greater than 5 m, the number of measurement zones should be increased as appropriate.
(3) The measurement area should be evenly distributed, and the spacing between two adjacent measurement areas should not be less than 2m.
(4) The surface of the survey area should be clean, level, avoid seams, honeycomb, pockmarks, embedded parts and other parts.
(5) The survey area should be numbered, and the location and appearance of the survey area should be recorded.
(6) Number and requirements of measuring points:
1) No less than 10 measuring points should be tested for each measuring area on the component.
2) The spacing of the measuring points should be less than the length of the sensor of the protective layer tester.
(7) For the detection of a certain type of components, the sampling method may be adopted. The number of samples is not less than 30% of the number of similar components, and not less than three, and the arrangement of each component is carried out according to the requirements of individual components.
(8) For the detection of the whole structure, it can be classified according to the type of components, and then tested according to the type.
3, Measurement
(1) Before the test, you should know the relevant drawing materials to determine the type and diameter of the steel.
(2) Before performing the thickness measurement of the protective layer, the position and orientation of the steel bar should be determined in the survey area as follows:
1) Move the protective layer tester sensor parallel on the surface of the component. When the instrument display value is minimum, the position of the measured steel bar is directly below the sensor.
2) After finding the position of the reinforcing bar, turn the sensor to the left and right at a certain angle. When the instrument shows the minimum value, the direction of the long axis of the sensor is the direction of the reinforcing bar.
3) Draw the position and orientation of the steel bar on the surface of the component measurement area.
(3) Measurement of the thickness of the protective layer.
1) Place the sensor directly above the position of the steel bar and move it slightly to the left and right. The minimum value of the reading instrument is the thickness of the protective layer.
2) It is advisable to read 2~3 stable readings for each measuring point, and take the average value to the nearest 1mm.
3) Avoid taking measurements at the intersection of the bars
(4) For components that lack the data and cannot determine the diameter of the steel bar, the diameter of the steel bar should be measured first. For the measurement of the diameter of the steel bar, it is recommended to use 5 to 10 times of reading, to eliminate the abnormal data, and to measure the average value.

© Shandong China Coal Group. © 2017
Address: No. 11, North of Kaiyuan Road, High-tech Zone, Jining City, Shandong Province, China
sales@chinacoalintl.com
Executive Editor: Zhang Wen / Editor: Linda Zhang